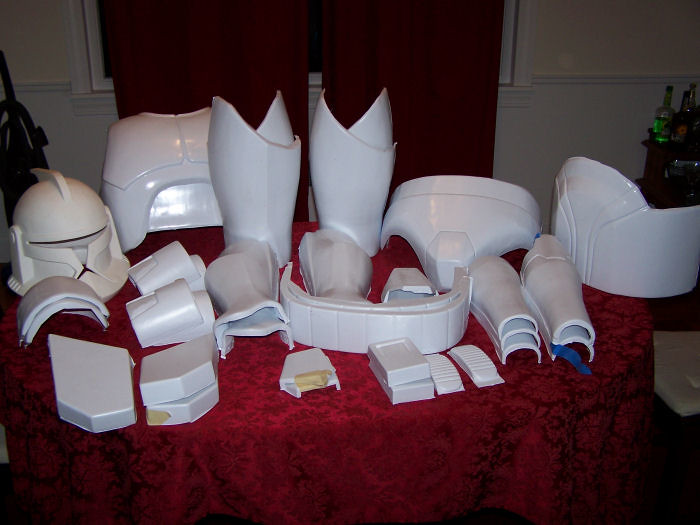
As a few of my readers may know, I'm a member of the New England Garrison of the
501st Legion, the Star Wars "bad-guy" costuming group. I've been involved with them officially since Valentine's Day 2006, when my Episode 3 501st Clone Trooper was first approved.
I've trooped in various parades, at the Boston Museum of Science for their "STAR WARS: When Science Meets Imagination" exhibit, at conventions, Hasbro's "Bring your Kids to Work" day at their main office in Pawtucket, RI, and even on-stage with "Weird Al" Yankovic.
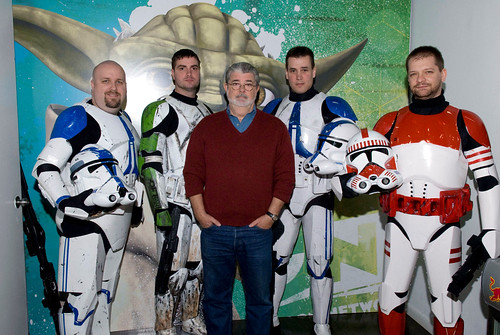
I even got to troop for Cartoon Network in New York, and was on-stage with The Man Who Made It All Happen, "George Lucas". That was a trip, I tell you...

I've added one other suit to my costume list, an Original Trilogy Biker Scout. Part soft-costume, part armored trooper, the scout was my desire for comfortability and mobility and still be a "Trooper". That outfit received approval in...2008? Yes, 2008 I believe. Since then, I'd been on the fence with what to do next. With the recent downswing in the economy, money wasn't exactly flowing like water for me. That being said, in 2010 I decided to take advantage of the Watch City Armory in nearby Waltham, MA and their wondrous "Clone Wars" series style Clone Trooper kit.

I'd actually wanted to do an Animated Clone suit for years now. Way back when Brian "
Stormtrooperguy" Anderson first made the helmet for what would become the WCA kit, I jumped on the band wagon and managed to snag version 1 of his helmet. So I've been planning this Animated Clone for a while. Over the summer I found out about
Commander Fil; a minor Clone Commander that appeared in one episode and died, but dammit, his name is "Fil". I couldn't
NOT make a suit for this guy. Besides, he's got all the accessories I like on the Clone Commanders that I felt I could do well (kama-skirt, mantle/pauldron, twin pistols) and none of the ones I'd likely mess up (Rangefinder, radio shoulder bell, Cody/Fox visor).
Project Start: 11/22/2010
On November 22nd I helped some of the guys at WCA pull a suit of armor and I went home with a box of HIPS-plastic parts. I then set about marking and trimming away the excess pieces and getting the parts closer to fitting my frame. It took a while; a lot of fitting, sanding gap filling, rotary sanding, more fitting, more sanding, painting, priming, weathering.
November 28, 2010
Progress!
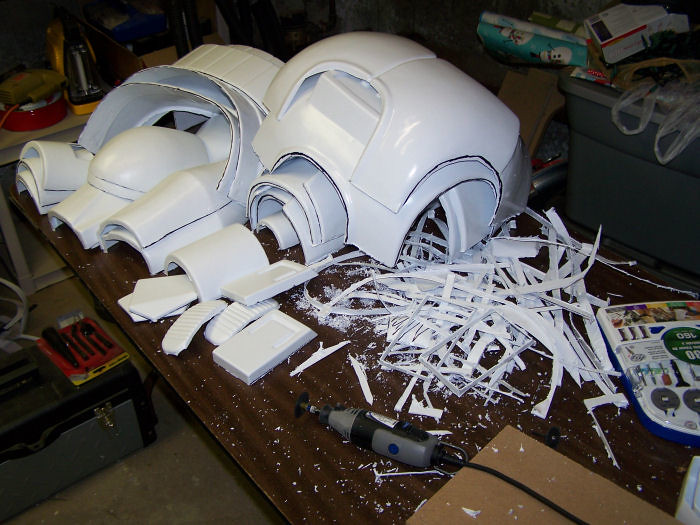
Next up, detail sanding!
November 29th, 2010
If it's a section that somehow goes on the torso, it's been sanded...
Chest
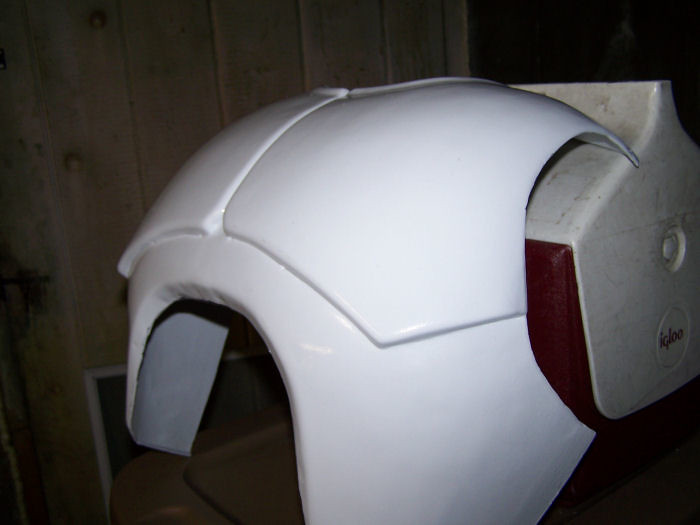
Back
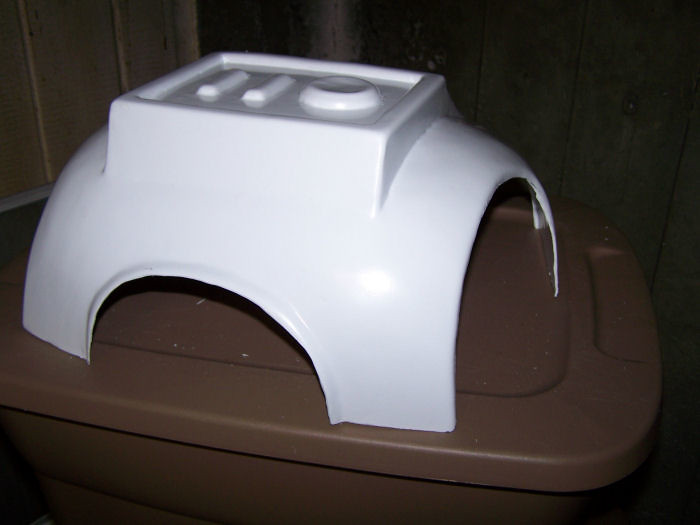
Ab
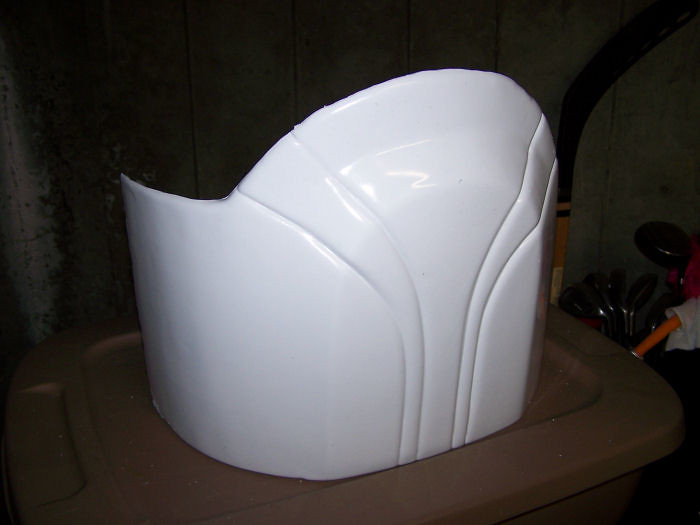
Kidney (Boring, boring kidney...)
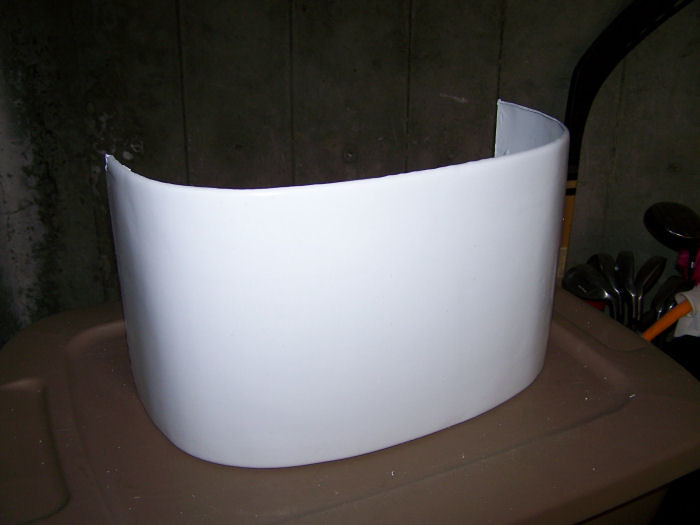
Cod
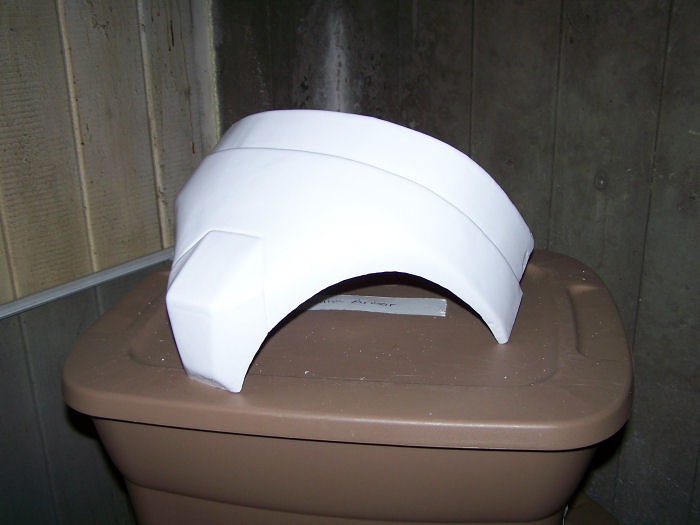
Butt
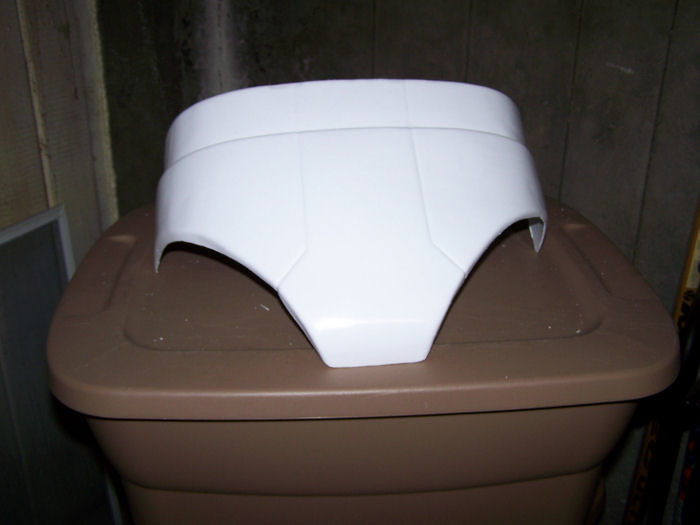
Front Belt

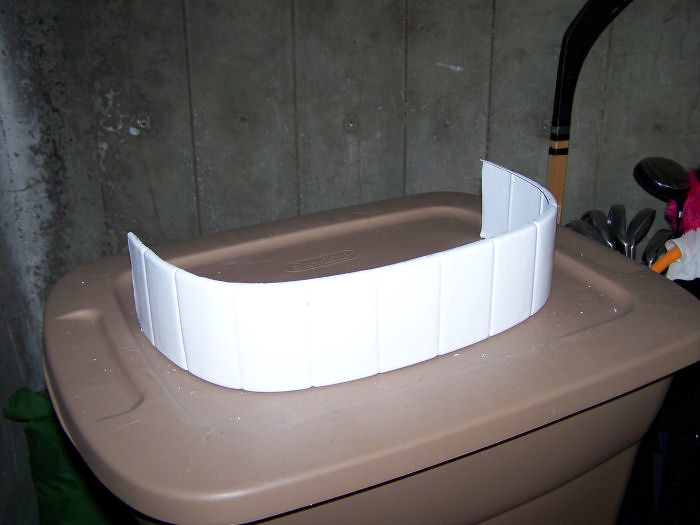
Back Belt
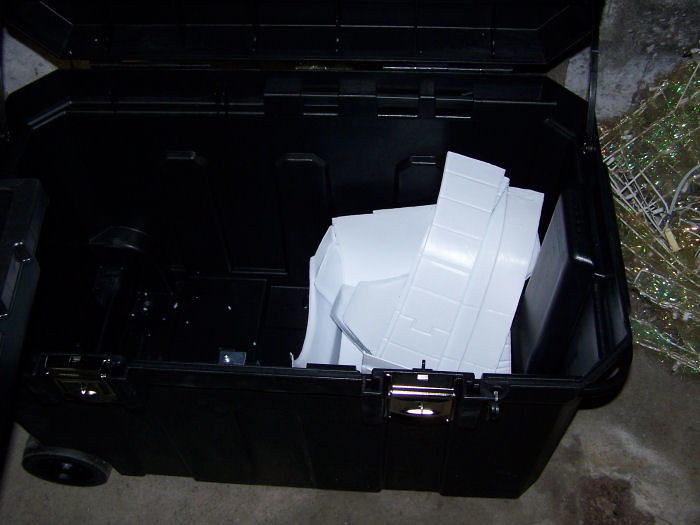
Storage! (Stanley 42 gallon wheeled tool chest, available in-store at Home Depot)
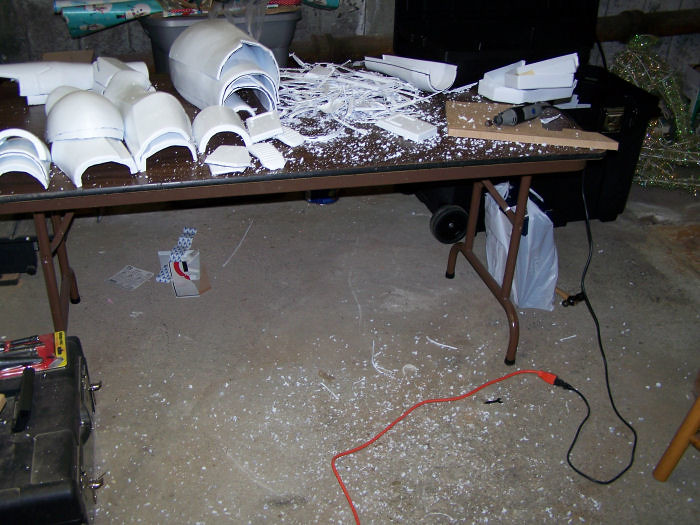
Snow! (And parts still to be done, hopefully tomorrow)
November 30th, 2011
Phase Three Complete!
Forearms
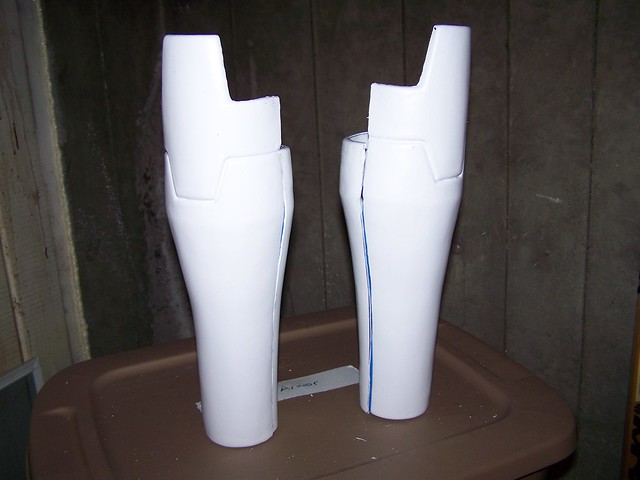
Shoulders and Boxes
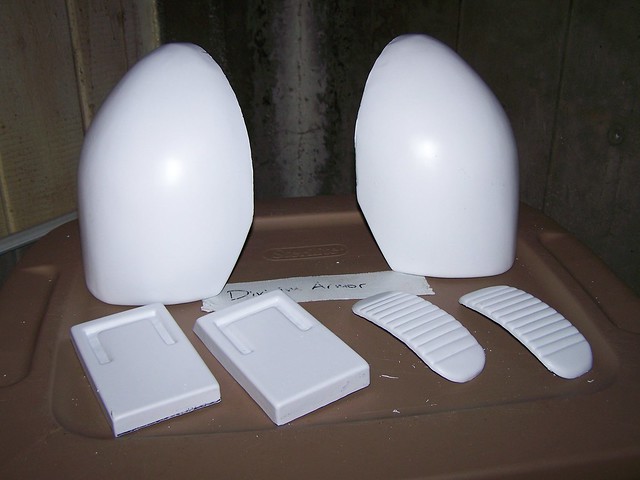
Knees and Hands
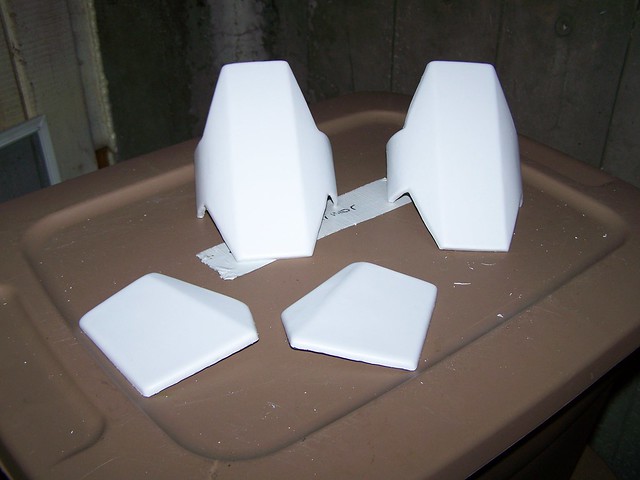
Shins
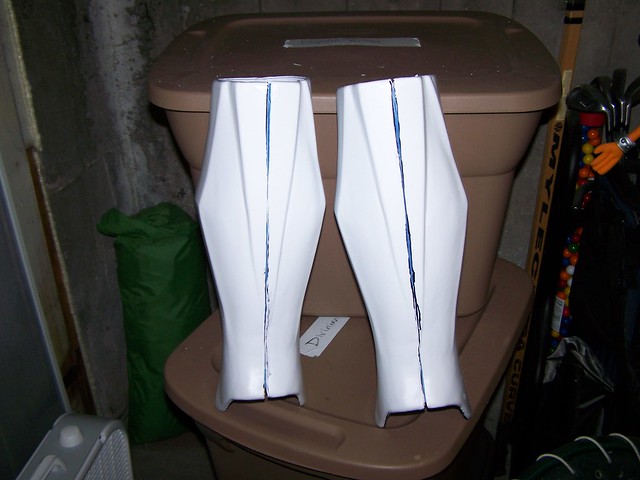
Biceps
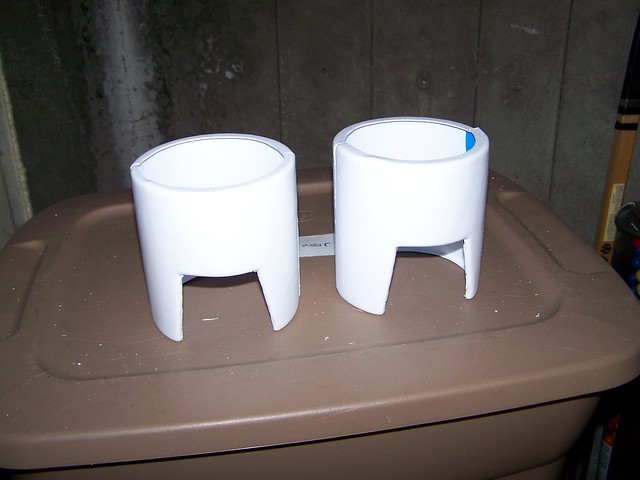
Thighs
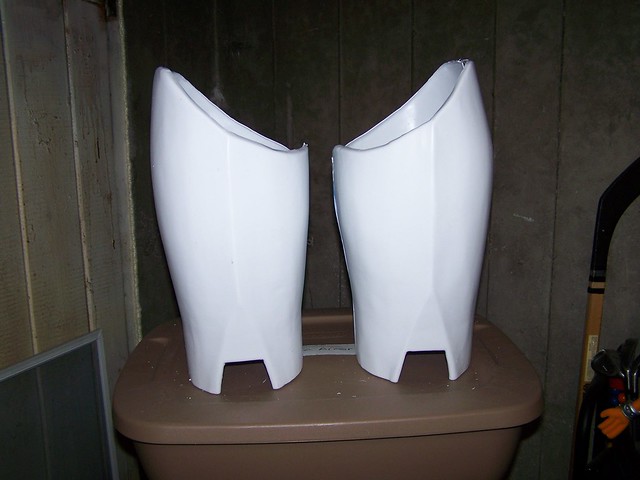
On to "Fitting"...
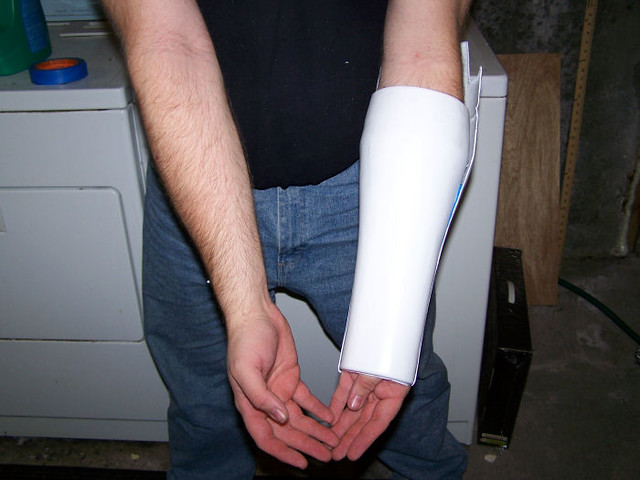
This next step requires me to go out and snag a plastic "No Parking" sign, I appear to be out of good thickness sign-board. Also it's the trickiest step for me; getting the damn thing to fit right.
From Brian "Stormtrooperguy" Anderson:
few bits of advice:
trim off all of the return at the top of the biceps. you can't really see it under the shoulders and it makes it more comfortable.
you want the biceps as high up as possible. i actually take a small scoop out of the inside, at the armpit, to get them up higher still. the reason for that is...
fitting the arms. when you bend your arm, you don't want the forearm and bicep to touch. the bicep should ideally be up high enough that they clear each other. this makes a HUGE difference mobility-wise.
i'm guessing you'll take at least a couple of inches off of the forearms. when your arm is as bent as you want to bend it, the wrist shouldn't dig into your hand too badly. this is all preference. i leave mine slightly long and accept the pinching since i think they look better.
December 3rd, 2010
I wanted to start fitting things, seeing how they'd go together. Cod and butt placed, and it looks like I need to take in an inch and a half on either side. Out of concern and general self-consciousness, I tested the ab and kidney plates. They actually came together pretty well, fit where they were supposed to, and I could even fit the belt around me with an entire belt-segment to spare.
Then I tried on the breast and back plates.
They wouldn't even come close to closing around me. They were riding up too high. The return on the front of the chest plate was fitting poorly with the Ab plate.
Aright, I realize some of the issue is the amount of "Phil" I'm trying to squeeze into "Fil". But some of it also is I'm just a big guy. My torso is huge; even if I did shed some pounds I don't know how it would affect things.
I'm wondering how much play I can get away with. Maybe trimming back some of the return on the underside of the Chest where it meets with the ab plate; because even without the ab place, the chest piece actually digs into my ribs if I try to clamp the chest plate closed.
Maybe widening the area where it connects on top of the shoulders would help. An inch or two, just it give it some more play to get a better angle around the ab section.
I don't know. I got to figure it out somehow.
Started fitting the arm guards, shaved the return off the top of one of the biceps, and called it a night; because unlike the clone-master, I actually need sleep.
I'm going to get this to work, dammit. I'll have a clone I can be proud of, and won't look ridiculous in.
December 12th, 2010
This is what happens when I have time on the weekends...And some company and pointers from Erich.


Pistol on loaner from Erich


Currently curing down in the basement...

I even got around to priming the helmet and installing something for later...

Big thanks to Erich and my brother Andrew for keeping me company during this build, and to my finacee Sarah for lovingly derailing NEG Fit Club with apple crisps and brownies.
December 17th, 2010
First Torso Fitting.


Home Depot Suspenders clamped to D-rings pop-riveted to the waist, belt, abs, and torso loosely placed where it's supposed to go.
I learned that on the side profile, the cod juts out. I mean OUT. Like easily a 3" gap between my groin and the cod plate. (No, I'm not showing a photo, it's that bad.) I did however discover that if I add a strap running underneath just like on the diaper-vest of the Scout Trooper, the cod and butt sections conform better and look WORLDS better. Plus it will be masked by the Kama, so that adds another layer of obfuscation.
December 22nd, 2010
So after the Dremel Multi-Max got the seams on the armor smooth, but not seamless smooth, Erich lent me his rotary sander.

Glorious, glorious beast that it is...


Also, I think I finally found Fil's unit color.
Valspar Red Oxide Primer

The camera washes it out a bit. If you hold up one of the painted pieces to the brighter sections of the image of Fil, it's damn close. After a black wash, I think it'll be right there.
December 26th, 2010
Got the second hardest paint scheme for the armor all masked up and ready to paint.

I even figured out how the back paint scheme goes.

Now I just have to wait for the Boxing Day Blizzard to pass, and I can paint the sucker.
December 29th, 2010
So what did he get done?
New Waist Tabs


Thigh Straps

Mantle


Mantle Black (1st Coat)

Chest Emblem

Tomorrow night I zip up to Tandy after work to get the last of the leather bits I need for the Mantle. Then it's on to finishing up as much as I can on the leather; dying, bleaching, affixing, etc.
December 30th, 2010
Today was a productive, yet slightly tainted day.
Went to Tandy (and bumped into Erich and Ann Marie). Thank you Ann Marie for digging through the scrap bin [b]and finding the one piece of grey leather that's almost perfect for the kama skirt[/b]. This saved me the hassle and annoyance of trying to bleach the leather I have. Now I just have to find someone interested in a pair of 25"x25" deglazed black leather panels.
Sadly, in the happiness of finding the grey leather, I put down and never picked back up the can of Leather Adhesive I was going to use to start sticking panels to the Mantle.
Ah well.
Came home, put on the second coat of black on the Mantle, finished cutting out all the sections of the Mantle, and spray painted the helmet and shoes.

Helmet didn't come out too shabby. Got a couple of bleed through areas, but I can touch those up as weathering.
After working most of the night, I decided to try a test fit of the legs and torso. Sadly, I discovered that I really need to kick into high gear with Trooper Fit Club, as the Ab section would be a ton easier to get into if I was 10 points lighter. On a plus note, the tabs seem to be holding strong. Discovered the left strap feeding into the parachute clip doesn't like to stay put and slid out while wearing it, and if it goes out it's never going back in. I'm
this close to sewing it all in place (right now I have it loose so it can adjust).
The belt will fit, I just haven't figured out how to attach it together yet. In the mean time, here's how it looks (keep in mind the left thigh is not attached to the cod plate).
 January 7th, 2011
Quite Literally, almost there...
Upper Body
(Stupid camera...thought you were focused...)


Right now I'm one big happy man, as you can see...
I've detailed my build progress on the New England Garrison boards, as well as in my Livejournal. I should probably head over there and link up the progress shots into this blog, in case folks wnat to see more of a step by step process.
Right now, I've submitted my outfit to the 501st Legion and the Rebel Legion for approval (Clones, especially Clone Wars clones, are "heroe" too and can join the Rebel Legion). It's a unique situation, as I'll be the first Commander Fil in either Legion.
So now it's all about the waiting game, and seeing if I can now be known as "CC-4043".

 Between now and April 15th I will be taking contributions to the "Get Phil a good Wacom for his Birthday" fund. On the 15th I'll take the button down and transfer funds to my checking account so on my birthday a few days later I'll skip into Best Buy and pick up my new electronic piece of awesomeness.